
How to create events on Tixologist
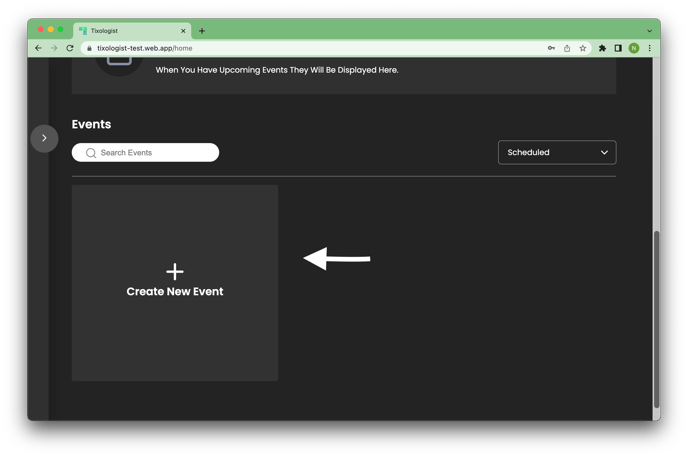
On your event homepage, you will see a grey “+ Create New Event” button. Click that button and you will be brought to a screen asking you to name your event. You can also create a new event by opening the side menu and clicking "Create Event."
or
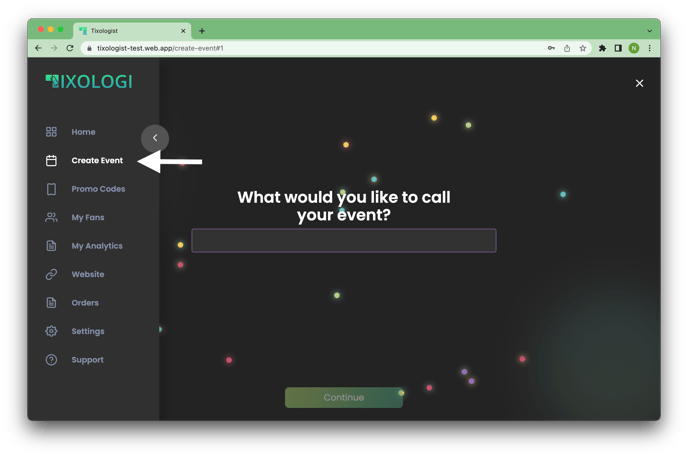
- Enter the name of your event in the text box. Click the green “Continue” button.
- Enter the date and time your event will be taking place. Click on the calendar icon and select the date. Below, enter the start and end times for your event. Click the green “Continue” button.

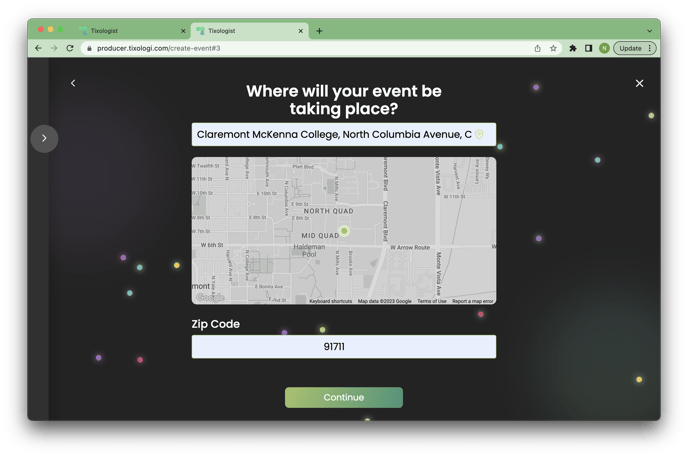
- Enter the address at which your event will be taking place. Once you select an address, a map will appear that shows the location you have entered. Be sure to enter the zip code in the text field below. Once you have confirmed it is correct, click the green “Continue” Button.
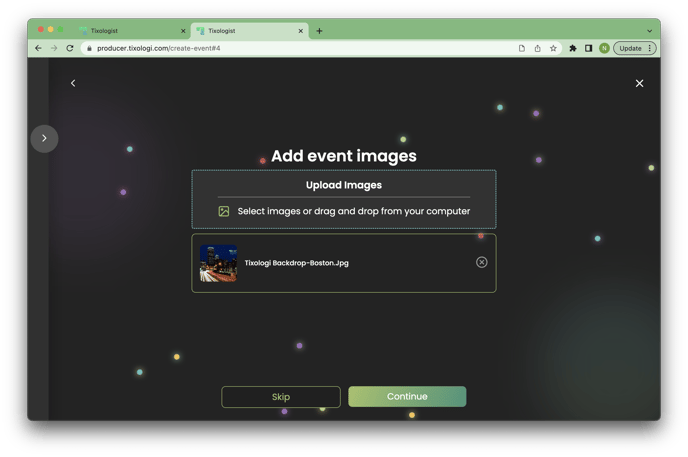
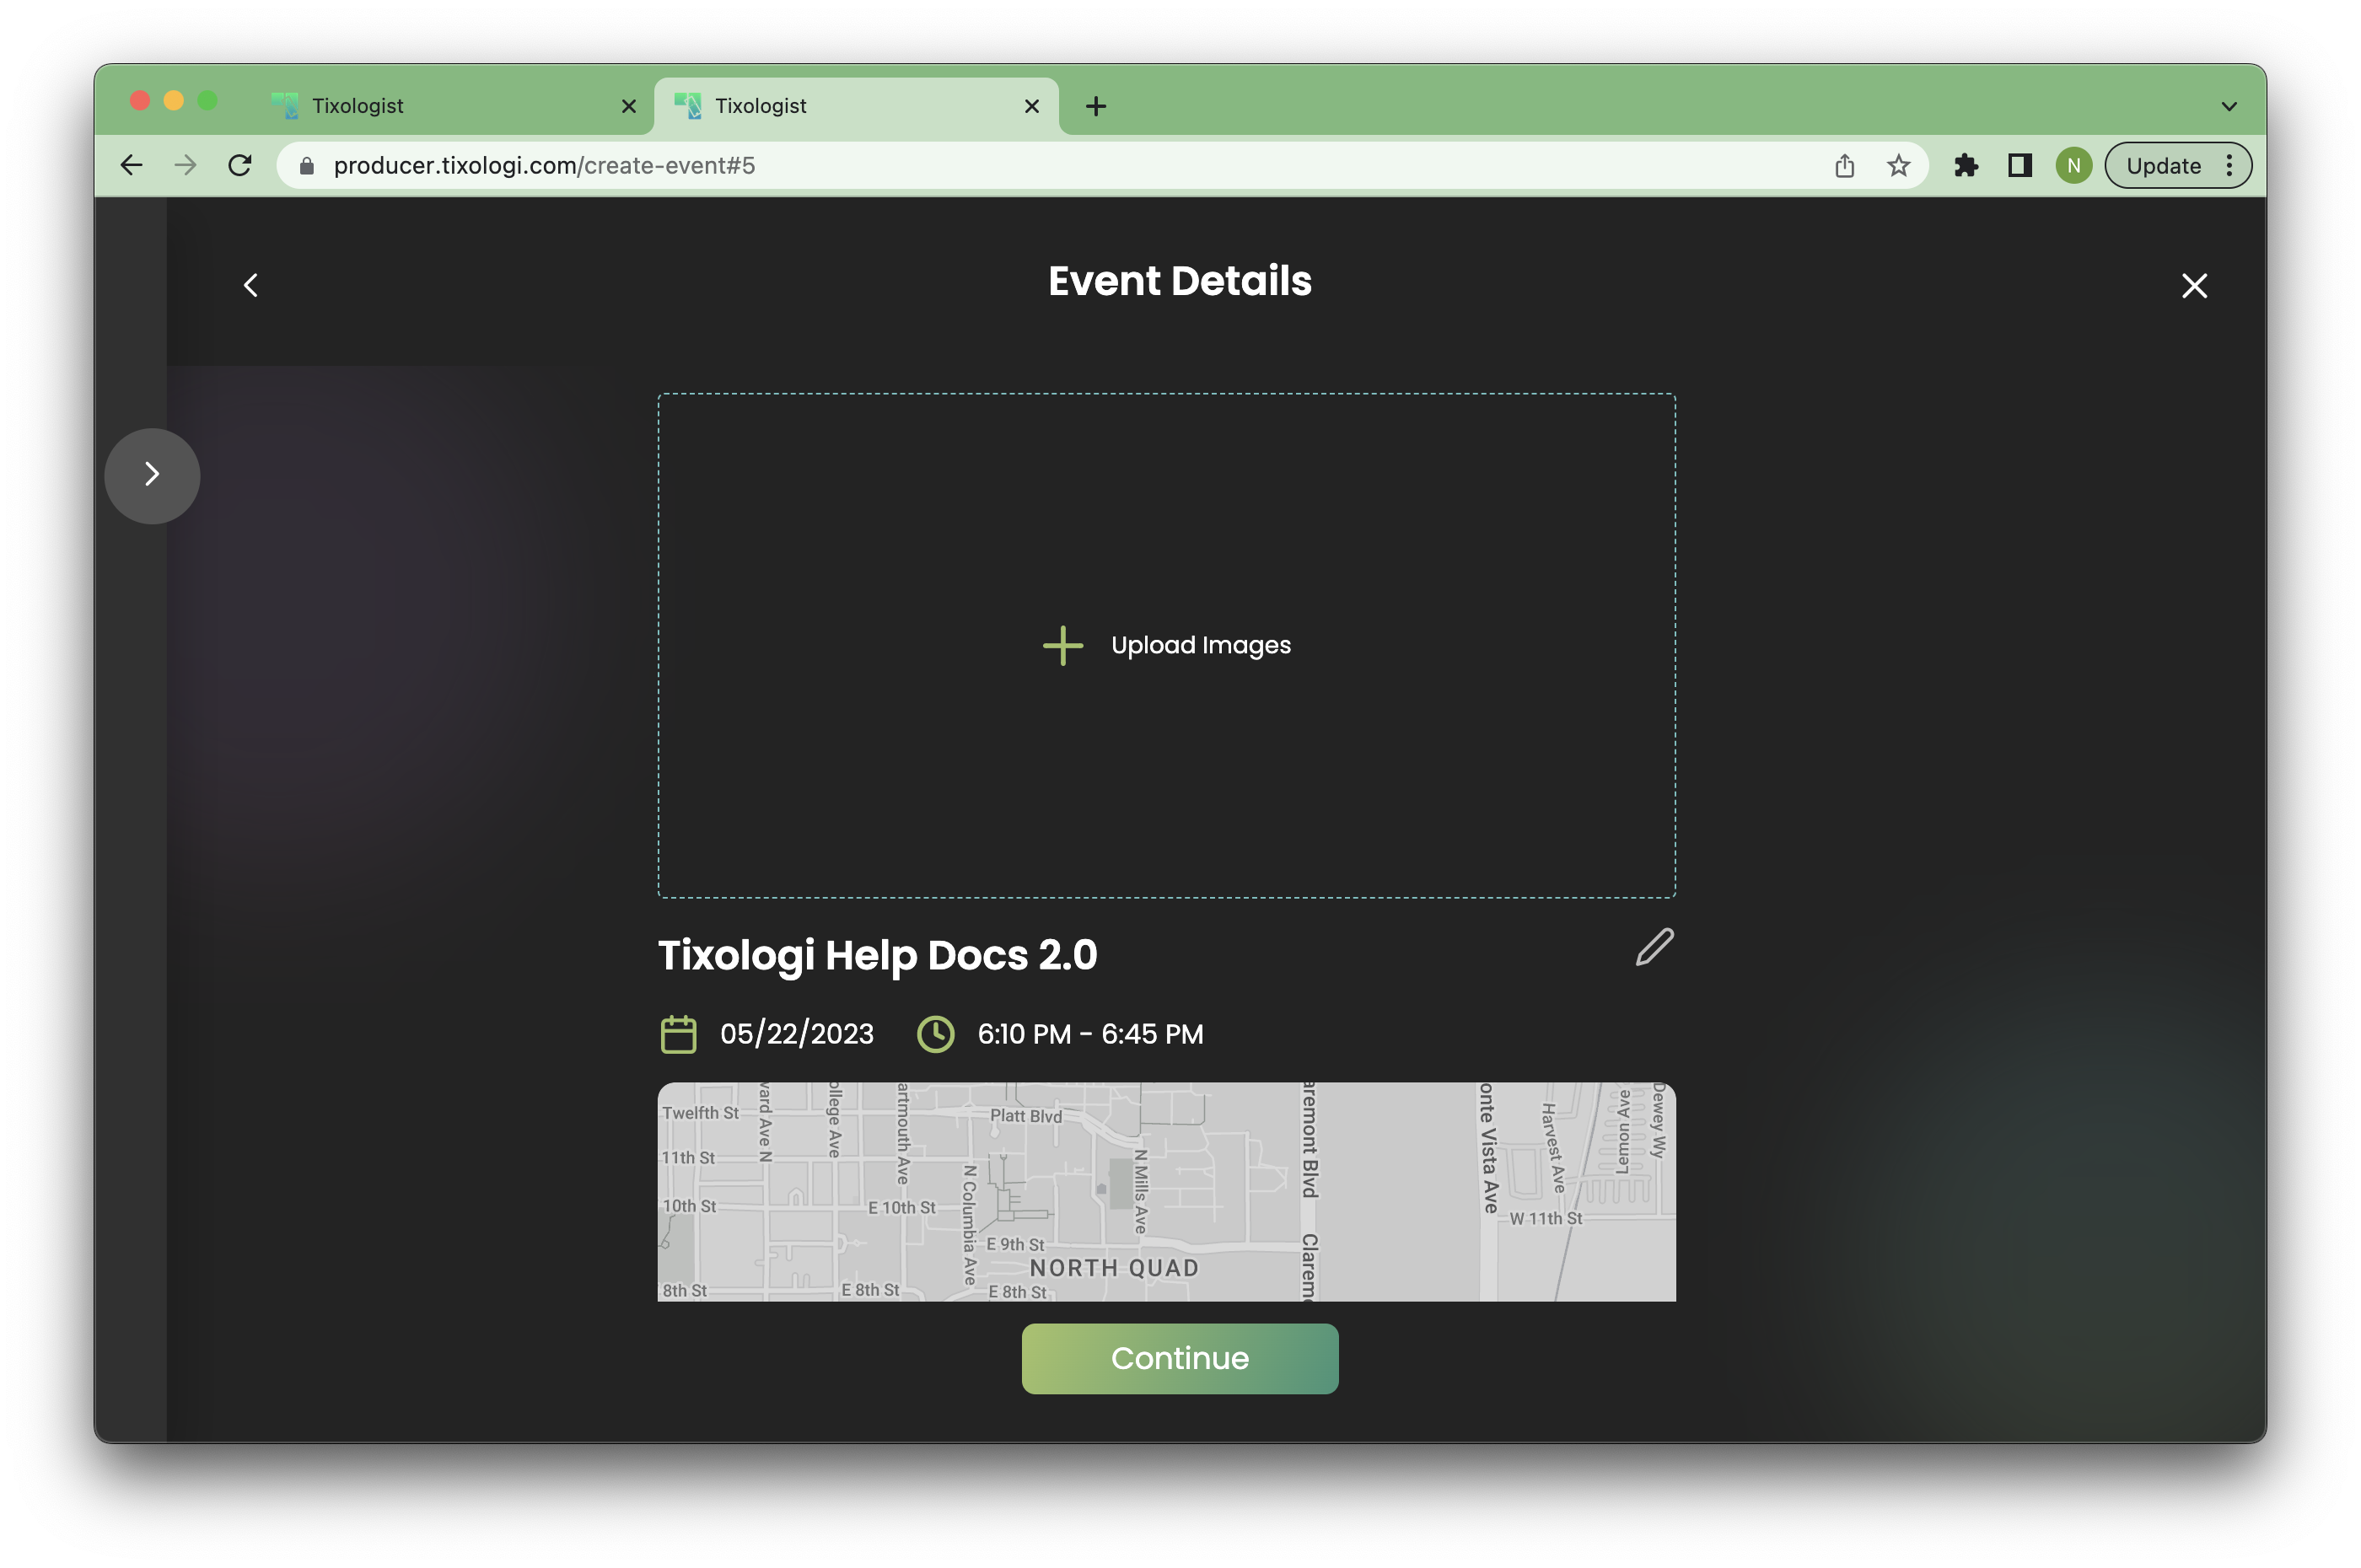
- Optional: Add event images. These images will be shown on your event page. If you would like to add an image either click the icon to select one from your computer, or, simply drag and drop your event image into the icon. A small preview of your image should appear below the icon, along with the file name. Add as many images as you would like. Then click the green “Continue” button. If you don’t want to add any event images, click the grey “Skip” button at the bottom of the screen.
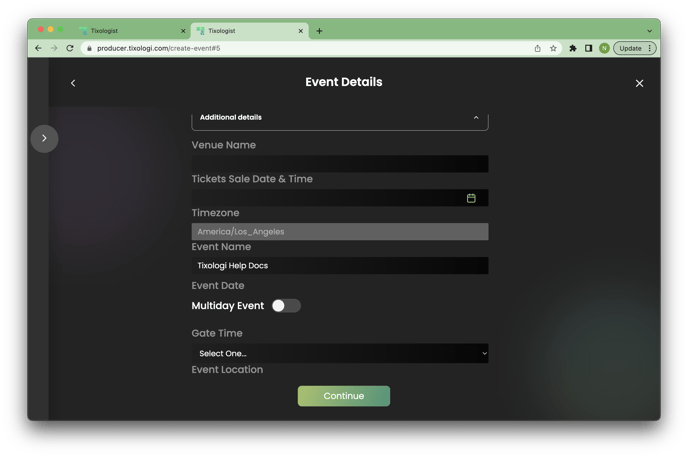
- You will then be brought to an “Event Details” page. Here you can view your event images, name, date and time, and location. There will also be an “Additional Details” drop down menu below the event location. If you want to add a venue name, a start time for ticket sales, a timezone, or create a multi-day event, click the “Additional Details” menu. You will have the option to edit all of those fields within the dropdown menu. When you have confirmed all of your event details, click the green “Continue” button.
- Next, on the “Add Tickets” page, you will have the option to add a ticket type for your event. You can always skip this step by clicking the grey “Skip” button and add tickets to your event later. If you want to add a ticket type, click “Add Tickets to Your Event” at the bottom of the screen.
- You will then be brought to a page titled “Ticket Details.” Enter your ticket name (eg. General Admission), royalty percentage for secondary sales (this is the percentage you will receive of the total price of any secondary sales), ticket price, and on-sale date and time. Select (Yes or No) whether you want the payment processing fee to be absorbed by the buyer. Then select (Yes or No) whether you want the buyer to absorb the Tixologi fee. Once you have entered all of the information, a price will appear at the bottom of the screen. This is the price your ticket buyers will pay for this ticket type. Once you have confirmed the price, click the green “Continue” button.
- Next you will be brought to a page with two options for creating/adding a ticket design. You can either start with one of our ticket templates by clicking the purple “Templates” icon, or use a previous ticket design from your ticket library.
- If you click the “Template,” you will be prompted to upload an image for your ticket. Either click the icon to select one from your computer, or, simply drag and drop your event image into the icon. Once you have uploaded your ticket image, click the green “Continue” button. Then, select your ticket style by scrolling through the different options and selecting your favorite. Click the green “Continue” button. A page with your ticket design, name, and on-sale date will appear. Click “Add-More” to move to the next page.
- If you click the “Ticket Library” option, you can select a previous ticket design from your ticket library. Click “Add-More” to move to the next page.
- Click your desired promo code application, and you will be brought to a promo code details page. Fill in your promo code name, discount (in % or $), and select the time and date you want the promo code to be available to your fans. If you would like to add an end date, click the slider at the bottom of the page and enter the date you want your promo code to be deactivated. If your fans attempt to use this promo code on this date or afterwards, it will not work. If you clicked “Specific Event” or “Specific Ticket Type”, you can select the specific event/ticket type on the right side of the page by clicking on the sliders.
- Once you have added your desired promo codes and add-ons, you will be brought to a confirmation page. Congratulations! You have successfully created an event. If you would like to return to your homepage, click the “Return to Homepage” button at the bottom of the screen. If you would like to view your event, click the “View Event” button at the bottom of the screen.